
He's recently outgrown all the onesies I made him last year. Both in space around his belly and length! All of his old t-shirts were size 4T. So over the weekend, we got him some shirts that fit, and I made him some new onesies.
I've been asked several times how to make these shirts, so I took photos along the way to share with others who might want to make larger onesies for their growing kiddos that still need the full coverage shirts a onesie gives.
Max is still in diapers, that get loose if he has access to them. And He also likes to pull on his g-tube, so we need to keep both of those areas covered. Also, he gets so sweaty, that when he's wearing a regular t-shirt, it rides up in the back and he can get a heat rash.
I got the idea last year to make these onesies, and tried a couple out with my mom to see if we could make them work. They've worked so well! And believe me when I say, they are easy enough for anyone with very little sewing experience to make. I had to call my mom a couple of times while making them, to talk me through threading the machine, and bobbin tension. At least she left the machine all threaded for me this time!
On to the photos...
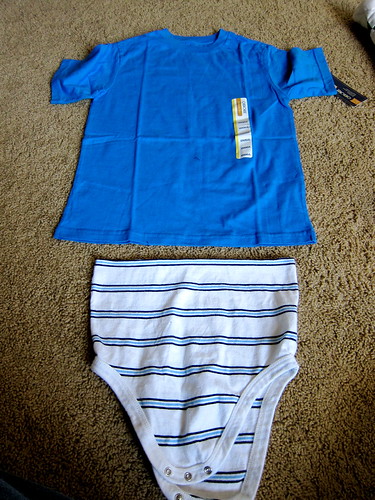
This is an old onesie, from Children's Place, size 3T. I cut it just below the armpits.

Now we have the bottom to our new onesie.

But...it's too small for the base of his new t-shirt.
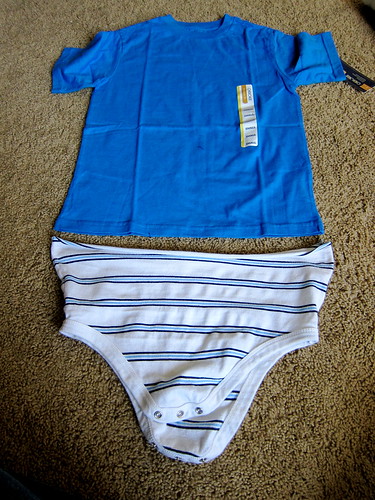
So I stretch it out. I just pulled on each side until it was the same width as the new t-shirt.
Next I turn both pieces of the onesie inside out, and line up the seams on the side of the shirts.

And pin it inside out, all the way around. Making sure to put the front of the onesie to the front of the t-shirt...I've had to undo them several times because of that mistake!
All pinned up.
Next, I take out the first couple of pins, and place it under the sewing foot.

I tuck the extra fabric out of the way, and I'm left with just the area that is pinned together.

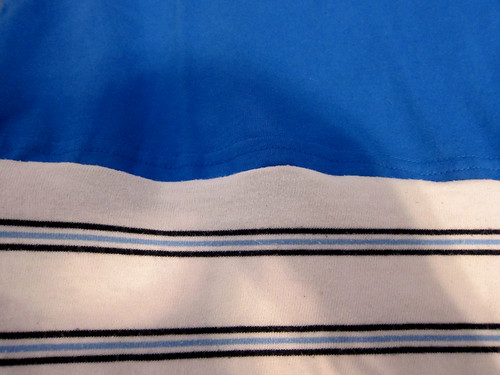
Then sew around the entire shirt, and we get this, inside out still.
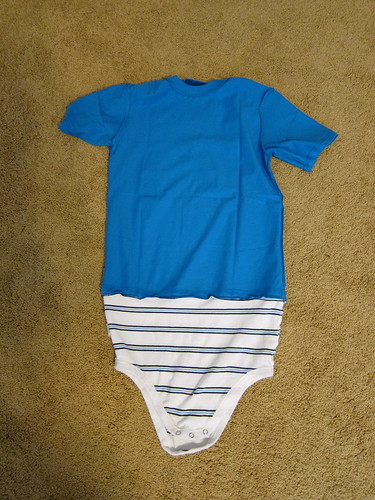
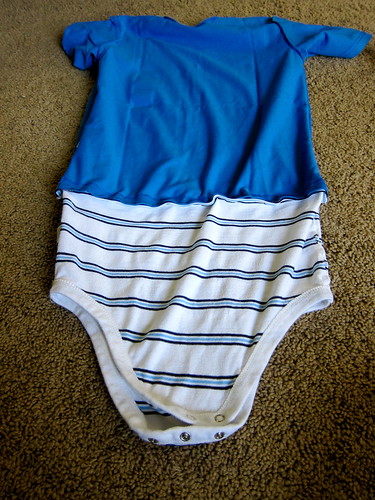
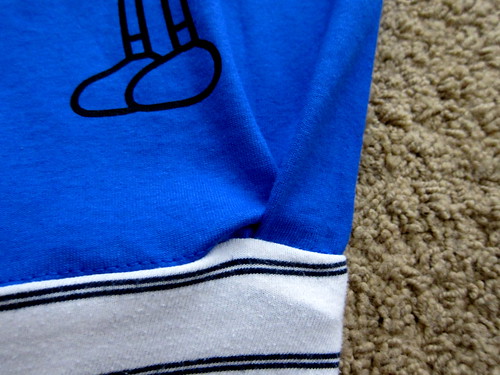
And right-side out.
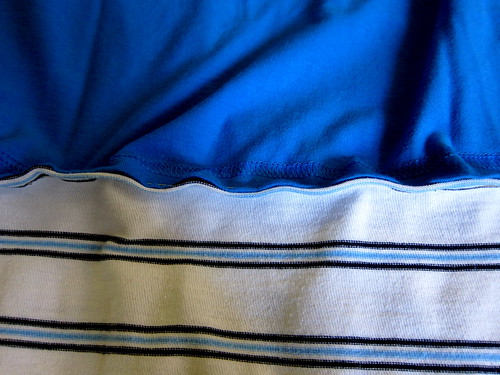
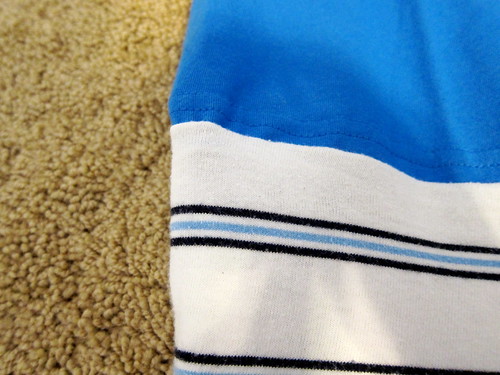
Because I sew the two pieces together inside out, I get a cleaner looking seam.
And the sides match up nicely.
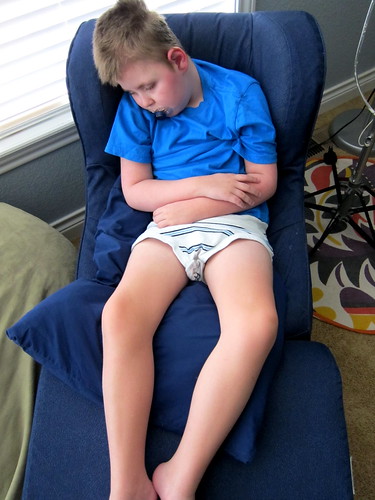
And the finished project on our dude. He's having a really crummy day today, after staying awake all night, so he's not too photogenic today...but you get the idea.
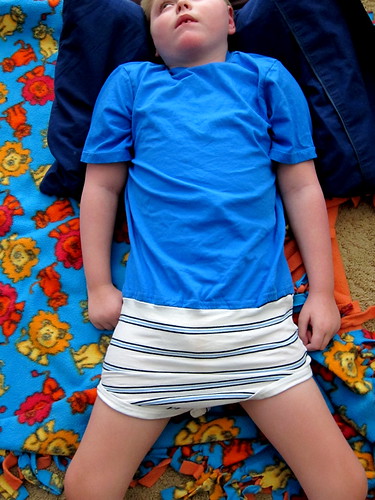
It is pretty big on him...but it's not skin-tight and he'll grow into the new onesies soon enough!
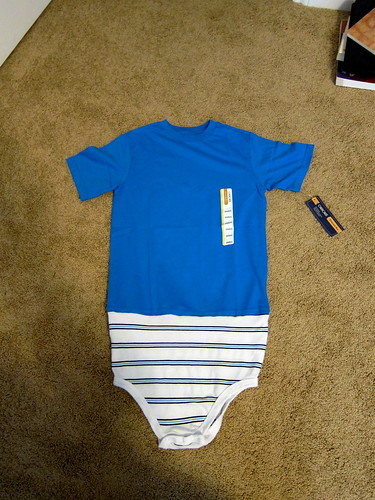
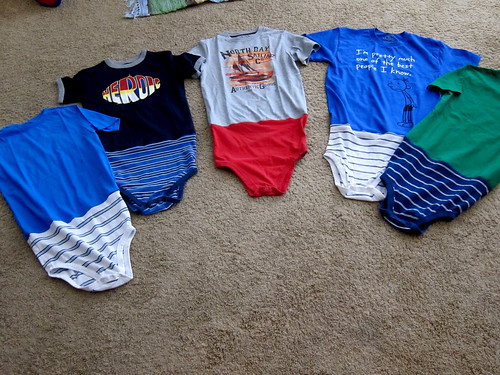
Here's a photo of all the onesies I made this weekend.
This is one of my favorites.
"I'm pretty much one of the best people I know."
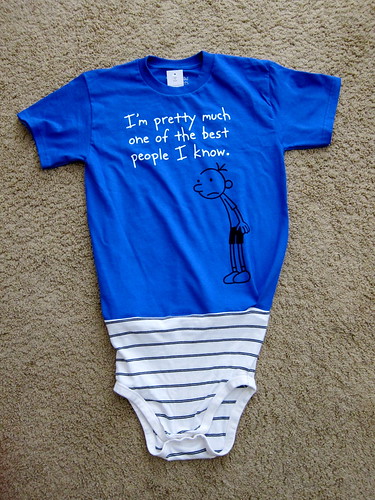
Steve found this t-shirt, and it is bigger than the rest of the t-shirts, even though it is the same size. So I had to tuck it a bit on the side where I sewed it.
But in the end, this is the area tucked into shorts or pants, so it isn't usually seen.
I hope this was helpful...and if you've been looking for bigger onesies, give them a try! It's likely you've already got all of the old onesies to use for the bottoms...next you'll get to start shopping in the "big kid" clothes for all the fun t-shirts you've had to pass up because they don't have snaps on the bottom!
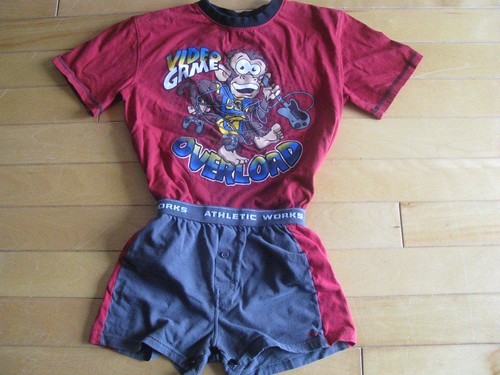
Here is an even larger option, made by my friend Raymonde, for her son, Marc-Antony. Great idea Raymonde!
6 comments:
I LOVE THIS!!!!! I have had to pass up so many cute shirts because they are well....shirts....and Samantha needs onesies for all the reasons you mentioned.
I am so excited to try this! Thanks :)
Heather and Samantha
Can't wait to see what you come up with for her! I've got a couple of sleeveless options for when it gets hot too. I just haven't put them together yet.
Thanks for sharing this great idea. The pictures are so detailed.
Thanks for visiting You Therapy Source...and for the tweets!!
here you can get onsias already made for you http://www.disabled-clothing.co.uk/index.php
my mail is bodvarg@yahoo.com if you want to contact me
Thanks for the tip Bodvar, and for visiting Max's page.
Post a Comment